This tutorial shows how to add video clips and make basic edits to an Adobe Premiere Pro project
Add Video Clips
When you are ready to start editing your project, you’ll need to move your video clips from the Media Browser to the timeline. The timeline is in the lower right quadrant of the interface.
- Choose the clip you want to place on the timeline from the Media Browser by clicking it.

To choose the segment of the clip you want to bring over to the timeline, you’ll need to set the in and out points.
- Double click the clip you are working on.
The clip will then appear in the source window directly above the Media Browser. Underneath the video clip is a timeline.
- Set your in point by using the letter I on your keyboard at the place you want your clip to begin on the timeline.
- Navigate through the clip by using the video navigation controls underneath the timeline.
- Set your out point by using the letter O on your keyboard at the place you want your clip to end.

- Click and drag the clip from the media browser window in the bottom left quadrant to the timeline in the bottom right quadrant.

Edit Footage
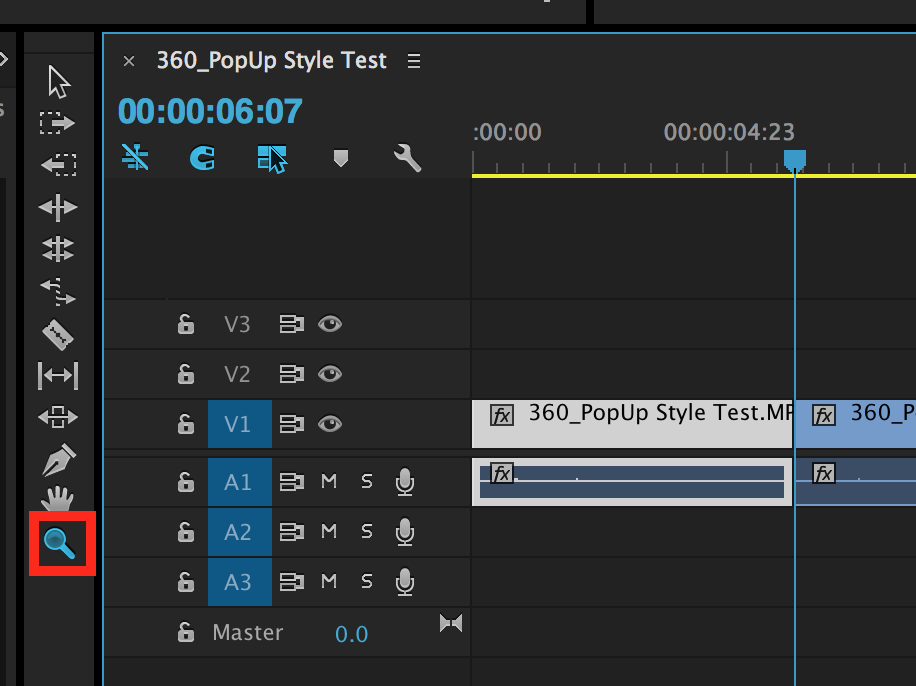
Once your footage is placed on the timeline, notice that the clip is split into two parts: the video and the audio.

Editing Tools: Selection Tool, Razor Tool, and Zoom In and Out
The three most common tools used when editing on the timeline are stacked vertically to the left of the timeline. The arrow at the top is the Selection Tool that is used to move clips around; the Razor Tool about half way down the list is the tool used for splitting clips; and the magnifying glass at the end of the list is used to zoom in and out on the timeline.
Click on the tool’s icon to activate it.

Split a Clip with the Razor Tool
- Select the Selection Tool from the tools menu at the left side of your timeline.
- Locate the area you want to split by using the playhead bar and video controls.
- Place the playhead at the location where you want to make a cut.

- Select the Razor Tool.
- Click on the video clip where the playhead is located to split the clip.

- You can now use the Selection Tool to rearrange clips, or delete a selection by using the delete key.
Zoom In or Out on a Clip
Sometimes it is useful to zoom in or out to make a more specific cut.
- Select the Zoom Tool which looks like a magnifying glass.
- Change from Zoom In to Zoom Out by pressing and holding Option on the keyboard.