
This tutorial will walk you through customizing your already existing site from NUTR 360. If you have not yet created a site, please refer to the introductory tutorials about setting up you site here.
The steps to customize your site are as follows:
- Create the NUTR495 category
- Add the NUTR 495 category to your navigation
- Create your first blog post
- Password protect post
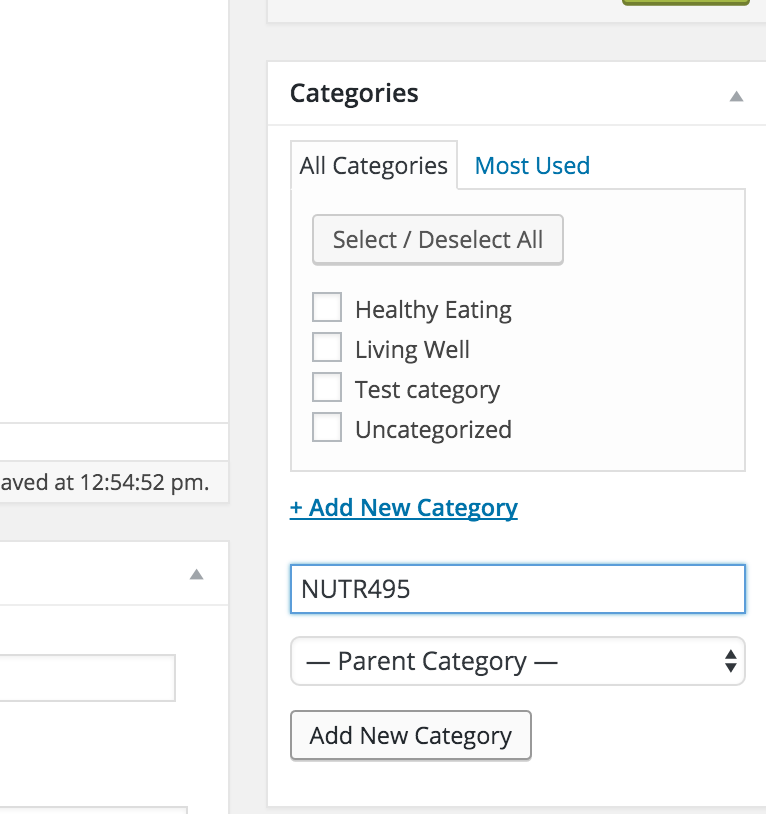
Creating the NUTR495 category
Just like in NUTR 360, you will be creating posts and adding a category to them to curate the posts. You can do this right from the Add New Post page. Type in NUTR 495 into the Add New Category box and click the Add New Category button. Your new category will now be saved and you can use it on your next blog posts.
Add the NUTR 495 category to your navigation
The next step is to add your newly created NUTR495 category to your navigation. To do this, go to the Appearance tab on the left side of your screen, and select Menus.
Note: If you have more than one menu created, be sure to select your Primary Nav before adding the category.
Next, click on the Categories dropdown menu and select view all, checkmark your NUTR495 category, and click add to menu.
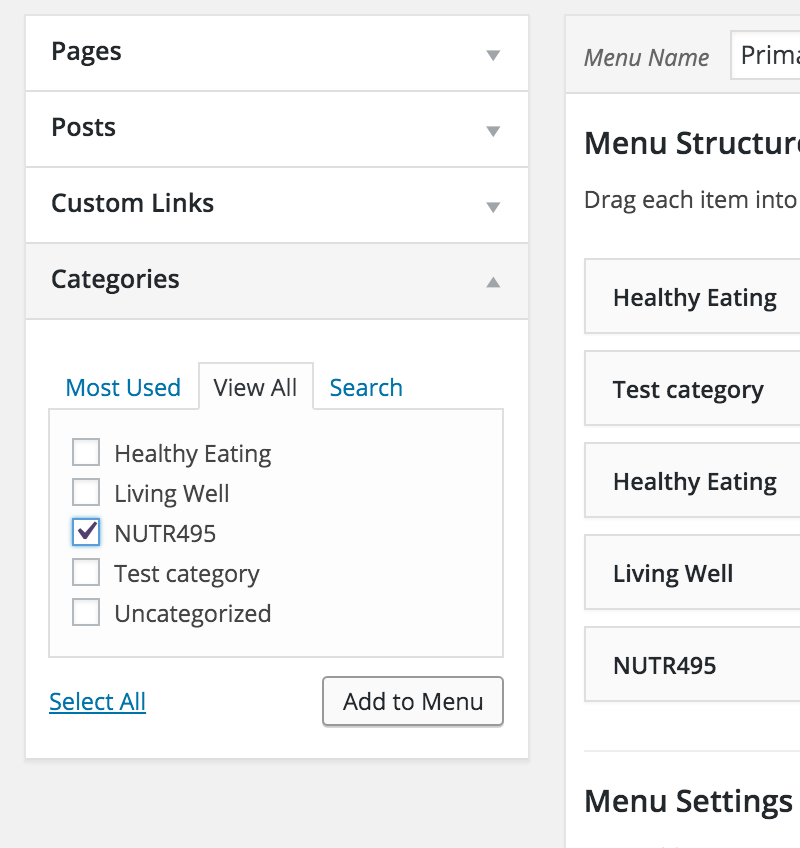
You will now see the NUTR 495 category added to your list. You can drag and drop the categories to rearrange your menu. You can also delete any categories you don’t need from this screen. When you are done, be sure to click Save Menu.
Once you’ve added NUTR 495, it will appear at the top of your home page. Clicking on the hamburger button in the top right corner of your page will show all of your categories.

Create your first blog post
The same stylistic guidelines from NUTR360 are relevant for your posts. Please refer to the articles on adding photos into posts and creating and publishing a post.
If you want to add external links in your blogs, you can read about adding links here.
Be sure to add the NUTR 495 category to each of your blog posts.
Password protect post
For NUTR495, you will be password protecting your posts so that you and your instructor are the only ones who can read what you’ve written. The password protect option is found in the publishing section on the top right corner of any post listed under visibility.
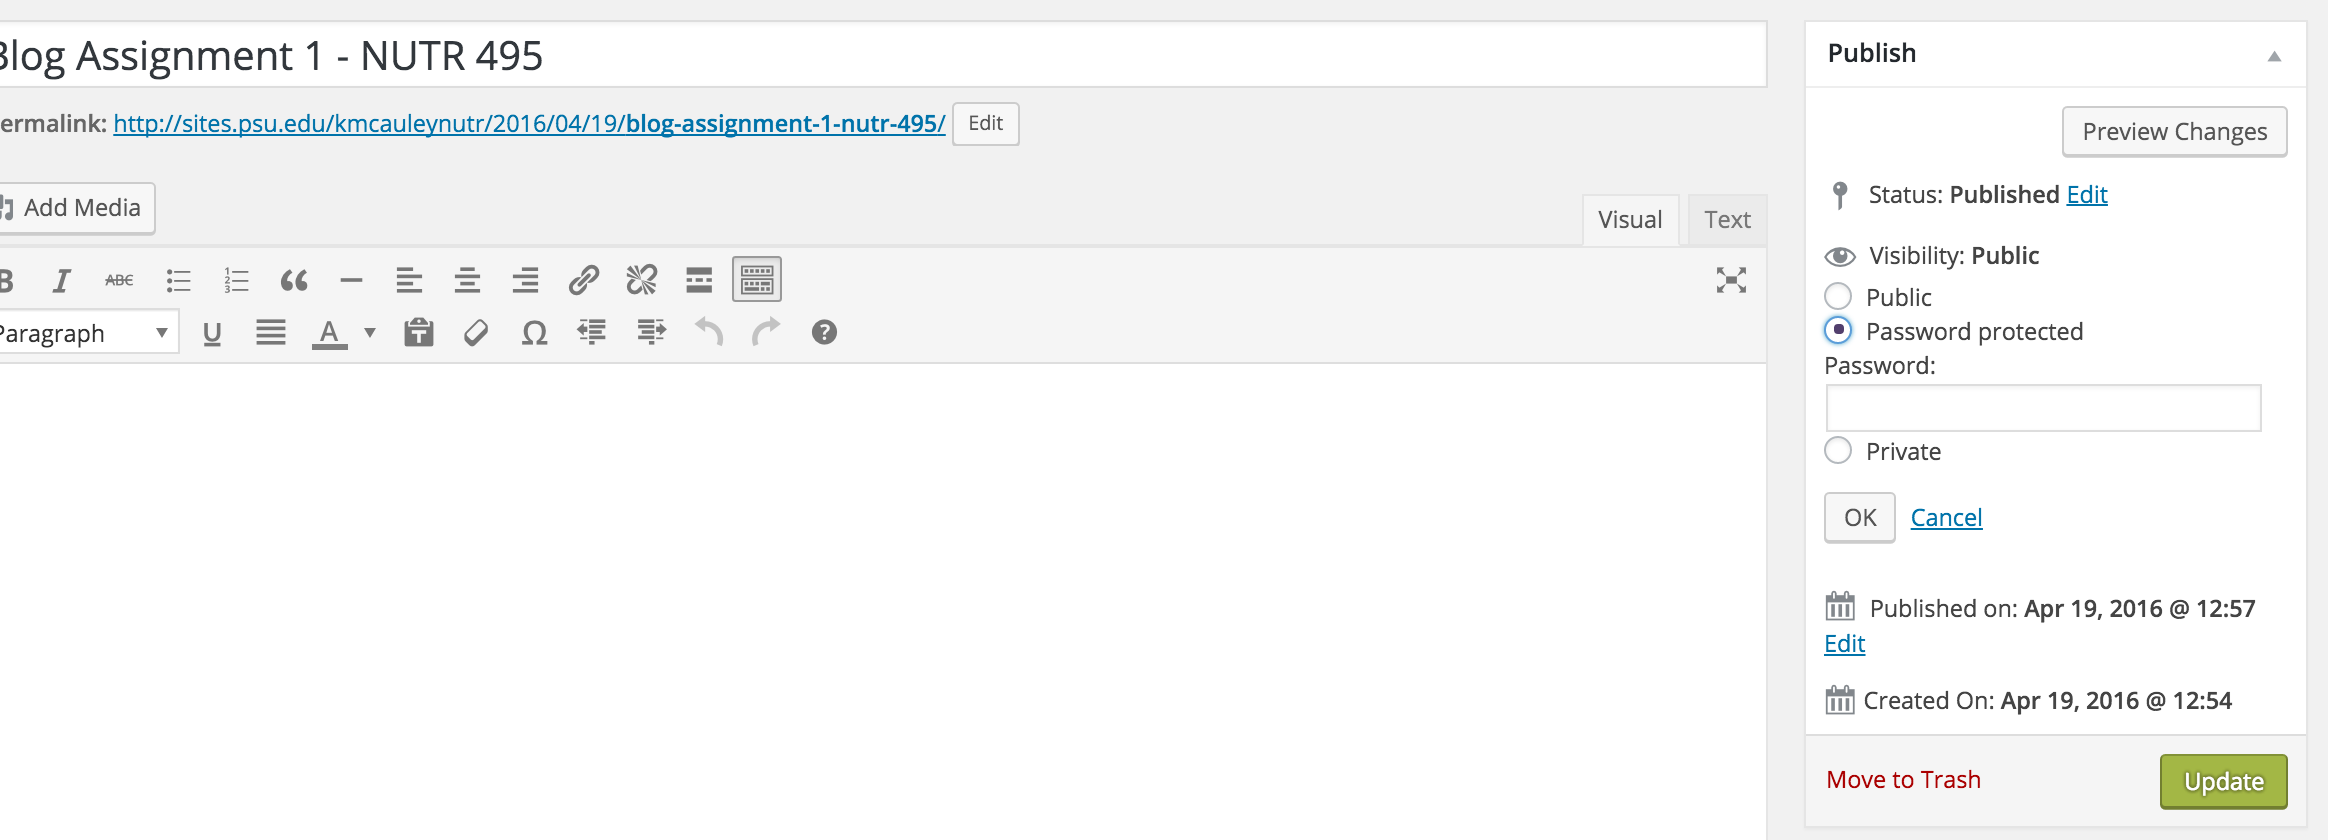
You will type in the password provided from your instructor and then update or publish your post. Be sure you are using the correct password, or your instructor will not be able to view your content.